
Discover a variety of fun and festive Christmas crafts and activities perfect for little ones aged 0-5! These simple, hands-on ideas are easy to do at home and help develop fine motor skills, creativity, and holiday spirit. From sensory play to keepsake crafts, there’s something for every child to enjoy this festive season!

What You Need:
Fill the bottle with water or baby oil. Add glitter, bells, and tinsel pieces. Secure the lid tightly with glue or tape. Let children shake and explore the sensory bottle. These are great for calm down bottles with a festive twist!

What You Need:
Dip your little one’s fingers in green paint and press them onto the card to create a tree shape. Let the paint dry, then decorate with stickers, markers, or glitter. Write a holiday message inside the card. These make sweet Christmas cards for the family!

What You Need:
Click here for our easy no-cook playdough recipe! Use festive food colouring like red, green, or brown (perfect for reindeers, gingerbread, and more). Add a Christmas twist by including scents like cinnamon, vanilla extract, peppermint oil, pine-scented oil, or even orange zest to the wet ingredients. Provide Christmas-themed tools and decorations such as cookie cutters, glitter, pom poms and Christmas shaped decorations or confetti. Encourage your child to create festive shapes and decorate them.

Paint your little one’s hand or foot brown and press it onto the card carefully. Once dry, add googly eyes, a red pom-pom for the nose and decorate. These make adorable cards or keepsakes!

What You Need:
Play festive songs and encourage children to dance. Use bells or shakers for added fun. Dancing is a great way to build coordination, burn energy and a wonderful way to bond, create joyful memories, and share quality time during the festive season.

What You Need:
Fill a bin with coloured rice and add bells, pom-poms, and ornaments. Let your child scoop, pour, and explore. Sensory bins are great for tactile exploration and independent play. Click here to learn how to make coloured rice!

What You Need:
Fill a ziplock bag with hair gel, glitter, and sequins. Seal it with tape and let your little one squish and play. Draw a Christmas tree shape on the outside of the bag, and add small pom-poms inside for a fun game where your child can move the pom-poms to “decorate” the tree. Sensory bags are a mess-free way to support sensory development and fine motor skills.

What You Need
Cut out or paint green handprints to make a circle for a wreath. Decorate with red pom-poms or paper berries. This craft makes a beautiful decoration and a lovely keepsake.

What You Need:
First, draw or stick felt pieces to the outside of the bottle to create the snowman’s face (eyes, nose, and mouth). Then, have your kids use small tongs to place white pom-poms in the bottle to form the snowman’s body. This activity helps strengthen fine motor skills while being lots of fun.

What You Need:
Start by drawing a simple shape (like a star, tree, or bell) on the black paper and carefully cut it out. Cut a piece of clear contact paper slightly larger than the shape. Peel off the backing of the contact paper and stick it to the back of the black paper, making sure the cut-out is centered. Have your kids stick small pieces of coloured cellophane onto the contact paper inside the shape to create a stained glass effect. These make lovely festive decorations!

What You Need:
Let your little one tear wrapping paper and explore the sounds and textures. Use the pieces for a collage if you like. Tearing paper is a great sensory experience and helps develop hand strength.

What You Need:
Press your child’s hand or foot into salt dough. Poke a hole in the top before baking if you’re going to hang these. Put it into a pre-heated oven at 120c for 2 hours. If the dough is not set, put it in for longer until hard. You can leave it as a keepsake print with the year or paint it as a Christmas tree, reindeer, snowman, Santa, etc.! These make beautiful keepsakes or ornaments for your tree.

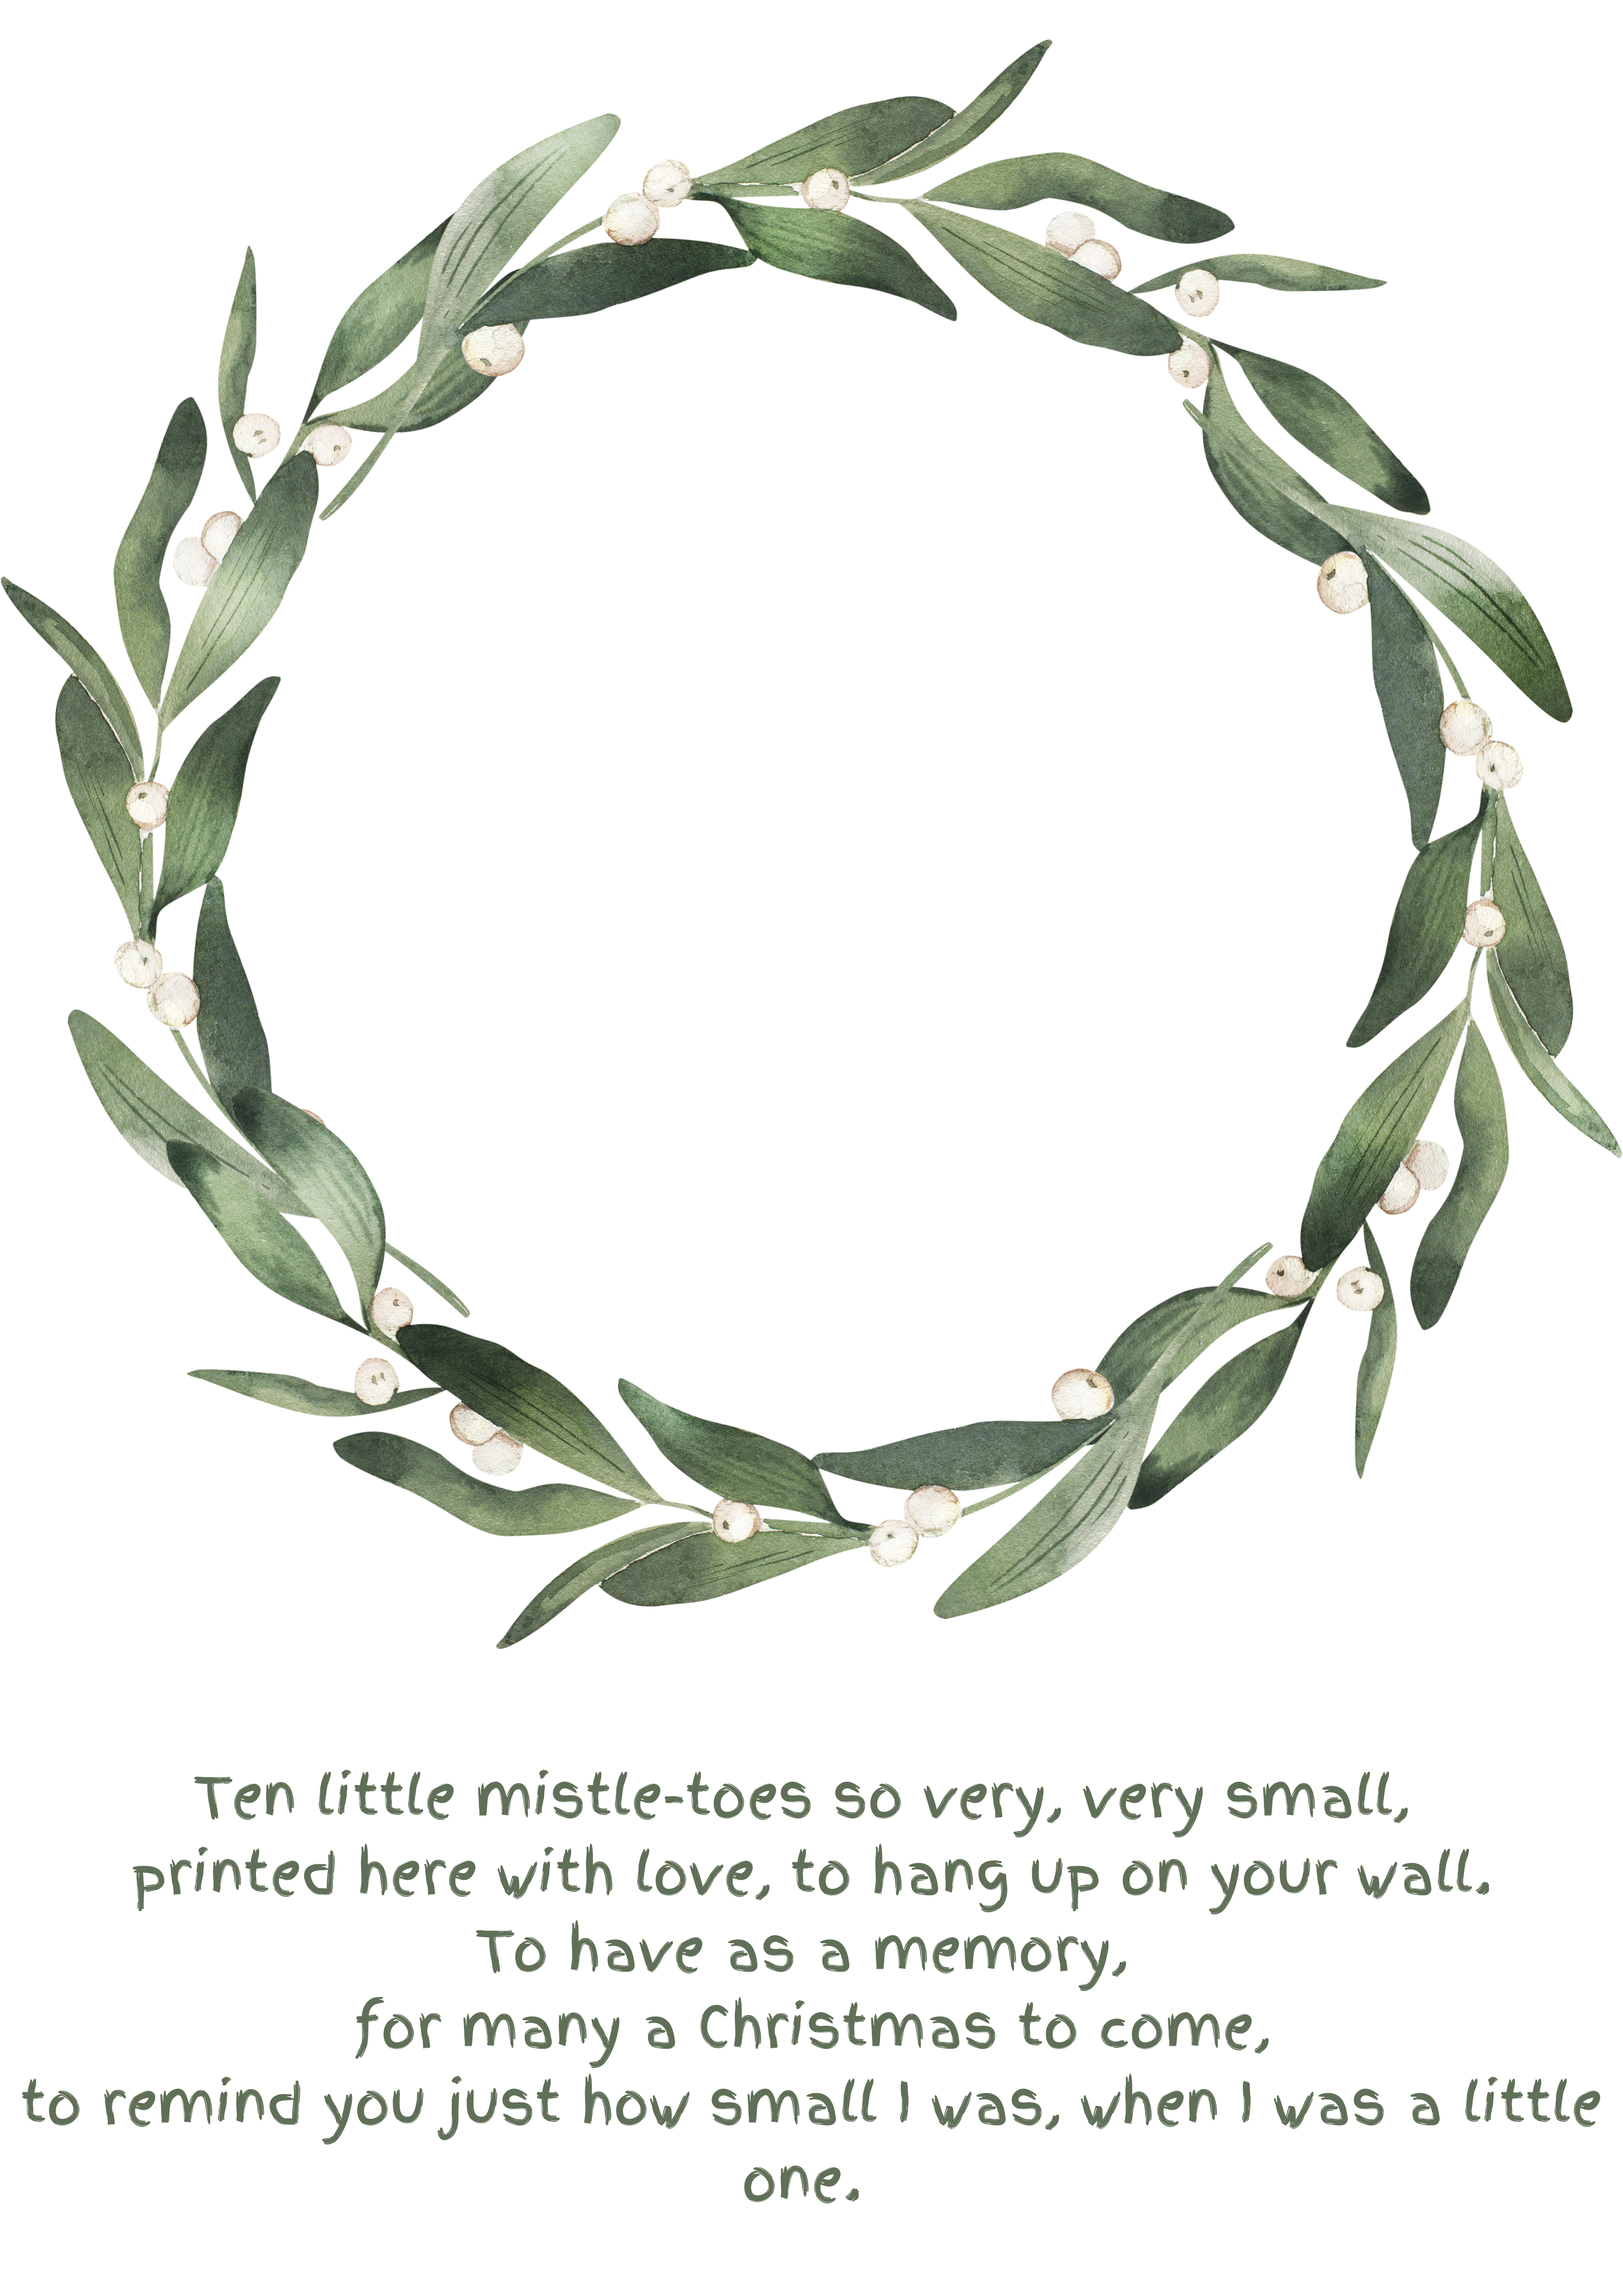
This craft is a fun activity and a lovely keepsake. Here we have provided printable templates but we have also included some examples of how to draw them yourself.
What you need:
You can do this in two ways: take a damp sponge and put it on a plate, apply a few squirts of paint and massage it into the sponge using a paint brush or your fingers to make sure the paint is worked through as much of the sponge as possible. Press your little one’s foot into the painted sponge one at a time, place their foot in the wreath (or under and gently press down onto the paper. If you don’t have a sponge, you can paint the bottoms of your little one’s feet with a very thin layer of paint, one at a time and repeat the above process.
 Keep this easy paper ornament craft as a reminder of how little your little one’s were this Christmas!
What you need
Cut out the printed ornament templates or draw and write your own and cut a small hole in the top. Use a piece of string the measure the height of your child and cut to their height, loop the string through the hole at the top and tie carefully enough that you can untie it whenever you like! Now you have a permanent reminder of how little your children were for Christmas this year, when you look back in years to come.

What you need:
All you need to do is make colourful thumbprints in a row and once dry turn them into Christmas lights by drawing a wire along the top. P.S… these make really sweet Christmas cards!
Tip: To make your paint last longer try making a home-made stamp pad. To make the pad take a damp sponge and put it into the plastic container. Apply a few squirts of paint and massage it into the sponge using a paint brush or your fingers to make sure the paint is worked through as much of the sponge as possible. Your homemade stamp is ready to go!
 What you need:
Cut the card into the shape of a Christmas stocking. Help the kids paint one side of the stocking with glue and let the children decorate! Once the kids have finished, put it aside to dry.

What you need:
Glue the pop sticks together to form a capital “A” shape. On the point, glue the red pom-pom to the top, this becomes the reindeer’s nose. Next wind the brown pipe cleaners around the middle pop stick to make antlers. Glue on the googly eyes and your reindeer is ready to decorate the Christmas tree.

What you need:
Fill a container with shaving cream and place it in the fridge for a couple of hours (or overnight if you have time). When it is cool pour PVA glue over the top (using a ratio of equal parts shaving cream to glue). Add some glitter and you are ready to paint! This snow paint also dries puffy so the finished result is very cool.

What you need:
Preparation: Draw a pattern (like the one in the top right of the image) on the underside of a paper plate and cut along the lines, discarding the dark section.
Now it’s time for the kids to get creative. Help them draw a face on the angel then decorate the skirt and wings with stickers, crayons and glitter. To make the angel stand up, overlap the edge of the angel’s skirt slightly and tape or staple it into place.

What you need:
Paint the front of your little one’s hand with green paint and gently press onto the paper or card in a tree pattern, start with 4 hand prints along the bottom overlapping and move up towards the top of the page with one less hand print in each row until you reach 1 handprint for the top of the tree. Paint a star at the top of the tree and decorate however you please, you could put a dot on each finger tip to look like baubles!

What you need:
Cut out the paper plate in shapes such as wreaths or stars. Decorate the shapes however you like! Your little ones can paint the shapes or glue on tinsel, decorations, glitter, or pom poms. When you finish and let the pieces dry, punch a hole in the top of the shape, tie on some string and hang on the tree!

What you need:
Cut out a strip of card that will fit around your child’s head. When the card is cut to the right size sticky tape it securely. Make the reindeer antlers from a cut out of your child’s handprint, stick it on the headband and decorate!

What you need:
Glue the pop sticks into Christmas shapes such as a triangle for a Christmas tree or a star to look like a snowflake. Decorate by gluing on decorations or wrapping thin tinsel around the pop sticks. Stick a loop of string at the top and hang on the tree!

What you need:
For Santa: Cut a Santa hat shape out of the card and stick to the top of the paper plate. Glue pom poms to the bottom of the paper plate to make Santa’s beard and optionally for his eyebrows. Stick on some googley eyes and draw on his happy face!
For snowman: Stick two or three paper plates together to make the snowman’s face and body. Glue on some pop sticks as it’s arms and cut out shapes for it’s face, nose and buttons out of the card and decorate however your little one’s want! Add some pizazz with glitter.

What you need:
Cut strips of card to the size of your choosing, about 2 inches wide and 8 inches long should work well! Decorate the strips, let your kid’s imaginations run wild! You could use googly eyes and pom poms to make Santa and his reindeer’s faces, snow men, or even elves or decorate with pom poms, glitter, tinsel, draw with markers, the ideas are endless! Once all of the strips are completed and dry, sticky tape the first strip into a circle, loop the next strip and tape through the first circle and continue doing that until the chain is complete! Use the chain to decorate your tree or home!
Extra idea: use this chain as a craft Christmas countdown! Write a number on each chain loop and carefully remove a loop for each day of the countdown leading up to Christmas! P.S. if you cut the loops carefully, you can reuse the strips for next year’s paper chain countdown
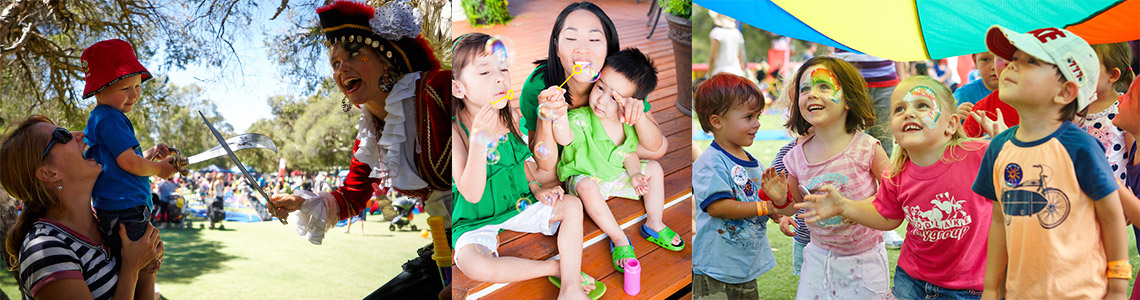
Playgroup WA has been supporting, servicing and establishing playgroups throughout Western Australia since 1972.